Last Download field in Account List does not update

I have a few checking and savings accounts in my federal credit union (FCU). The checking and savings accounts are all Express Connect. I also have a credit account at that FCU that I have as Web Connect. When I use One Step update, only the checking and savings accounts get updated, and the Last Download field is updated for those accounts, as expected. I then select the credit card account and do an update now from the gear. It takes me to log into the FCU and has me sign in. I select the credit card account and export the transactions. I click on the downloaded file and the Quicken icon on the taskbar flashes for a few seconds and then stays highlighted -as expected. I then click the Quicken icon and go into Quicken. There is a blue dot for the CC account, and when I select the account, the transactions have been correctly imported into Quicken. When I check the Account List, I notice the Date Downloaded has not been updated. Since I restored from backup a week ago due to 800 errors.
After the restore, I have had to deactivate and re-add all accounts, numerous times, to get them to download. I finally have everything apparently working as before the 800 error, except for updating the date downloaded field for the Web Connect account.
I think before, the screen came up to UPDATE NOW. Now it goes from the dropdown menu directly to the bank sign-on.
[Edited-Readability]
Comments
-
Hello @Mike_L,
Thank you for sharing your experience.
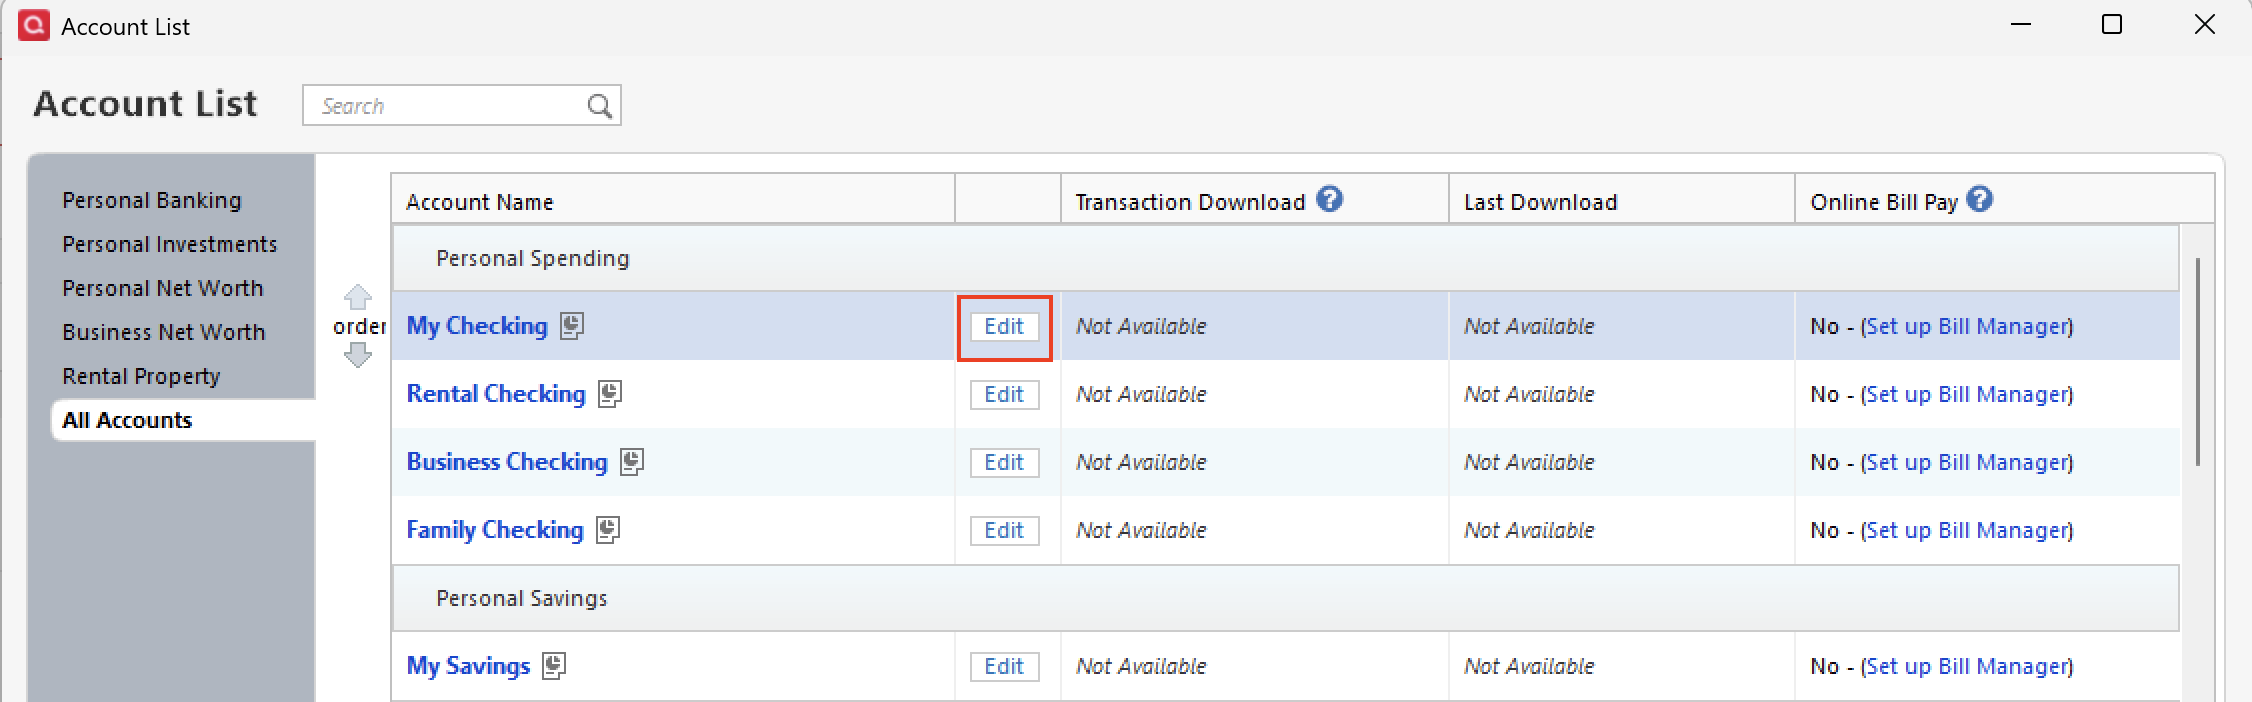
Interesting that the download date is not updating. on this Web Connect account. Please go to Tools>Account List, and then click Edit next to this account.
Once there, click the Online Services tab.
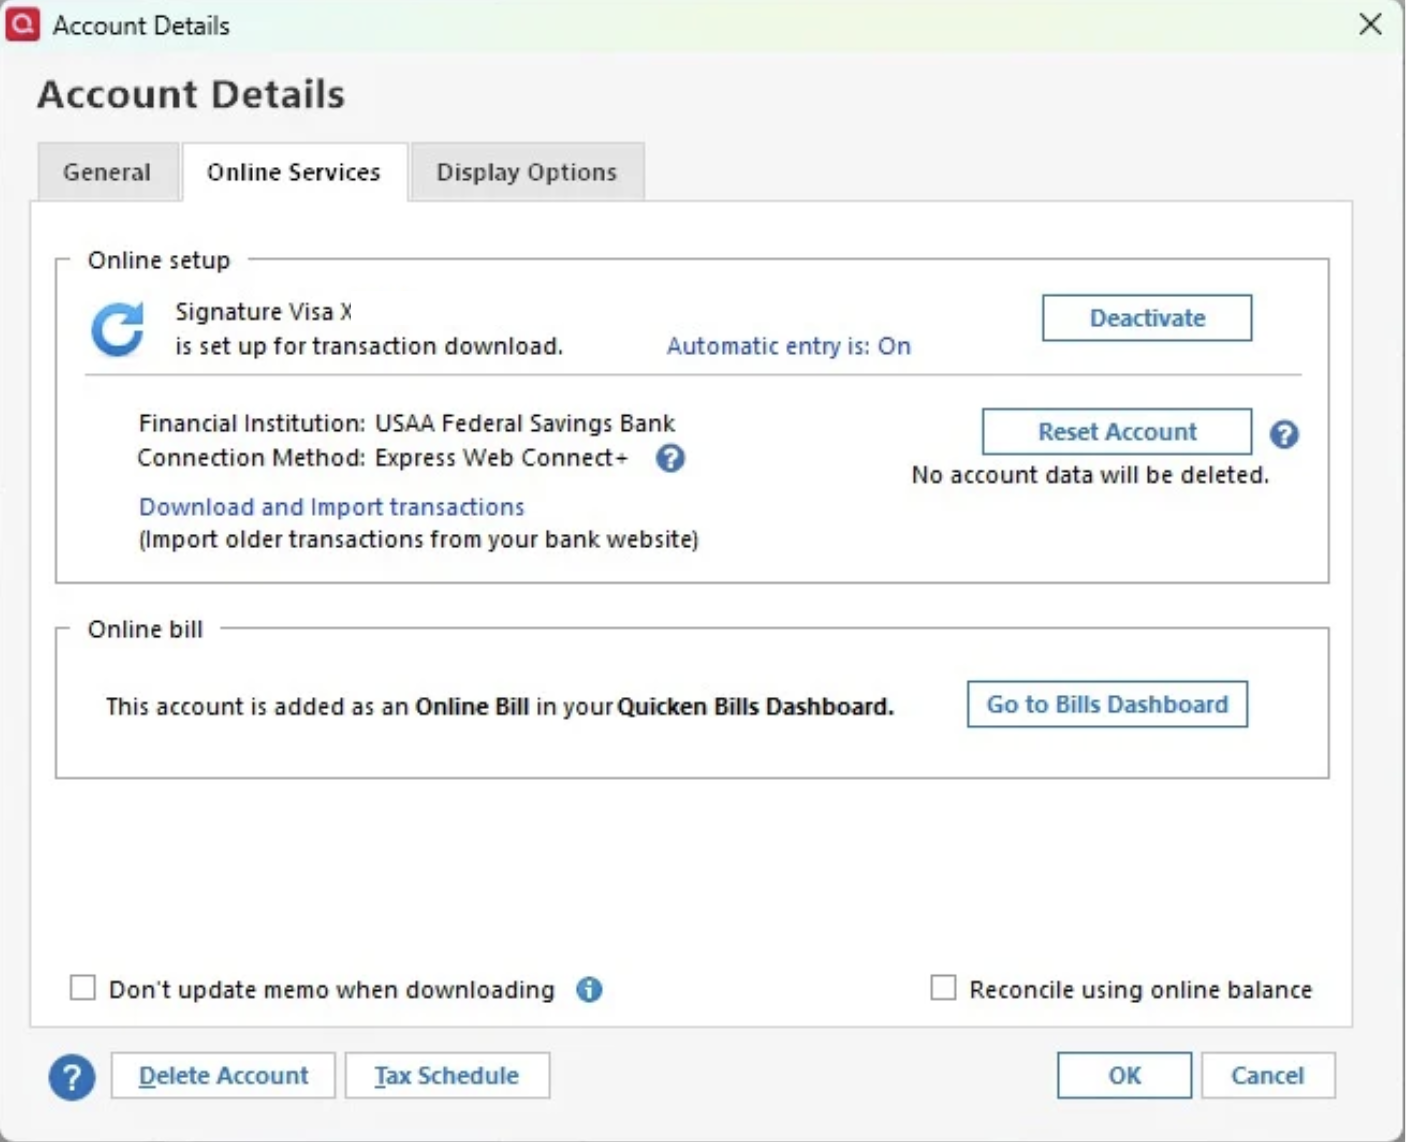
What does it show under Connection Method?
Let's also sign out of Quicken and then sign back in. To do this, you will go to Edit>Preferences>Quicken ID & Cloud Accounts.
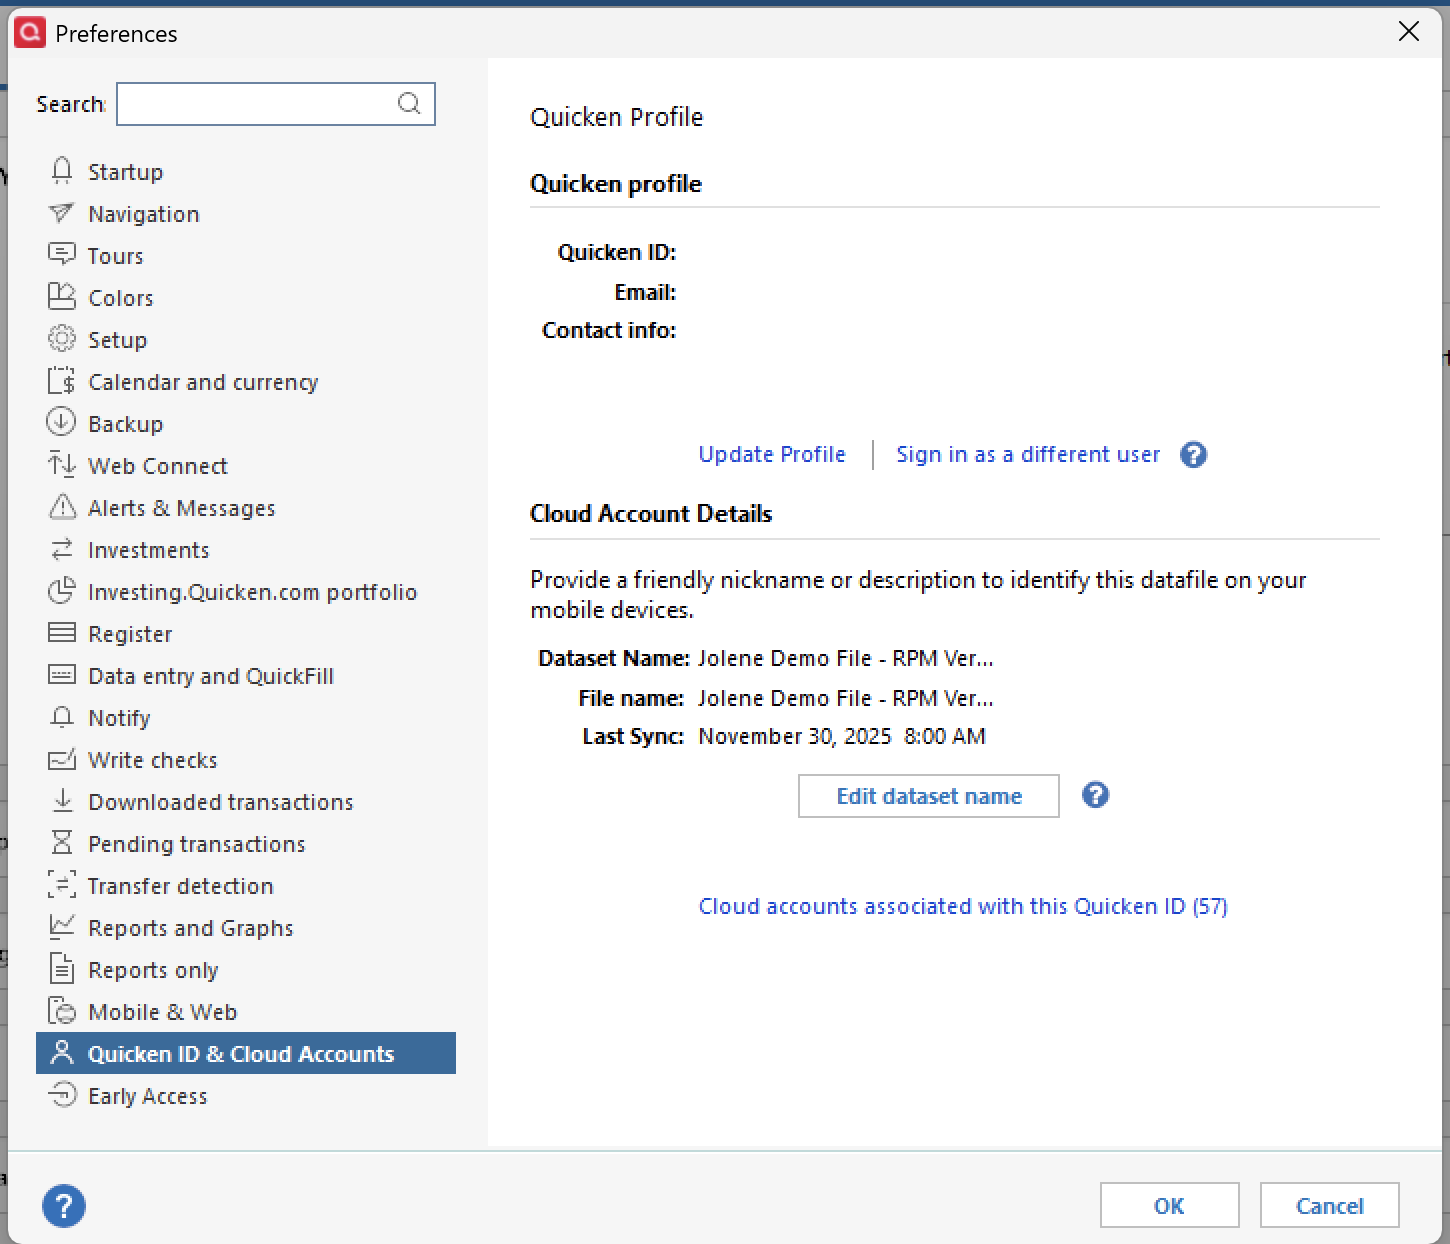
Once there, select Sign in as a different user. Type "yes" to confirm, then click OK. Now you can sign back in.
Let us know how it goes!
Quicken Alyssa
Make sure to sign up for the email digest to see a round up of your top posts.
0 -
It showed Web connect before I tried your solution and after I followed your directions.
The directions you provided seemed to work as when I updated the account, the date / time was recorded correctly in the account list.
It looks like I am back to normal.
Thank you.
1 -
Thank you for following up and letting us know the recommended steps resolved the issue.
If you need more help, don't hesitate to reach back out.
Thanks again!
Quicken Alyssa
Make sure to sign up for the email digest to see a round up of your top posts.
0
