Nonelected investment accounts showing up on mobile app

Investment accounts which are closed and not selected for sharing are now showing up on mobile app. Is there a bug?
Comments
-
Hello @ralphf,
We appreciate you taking the time to bring this issue to our attention.
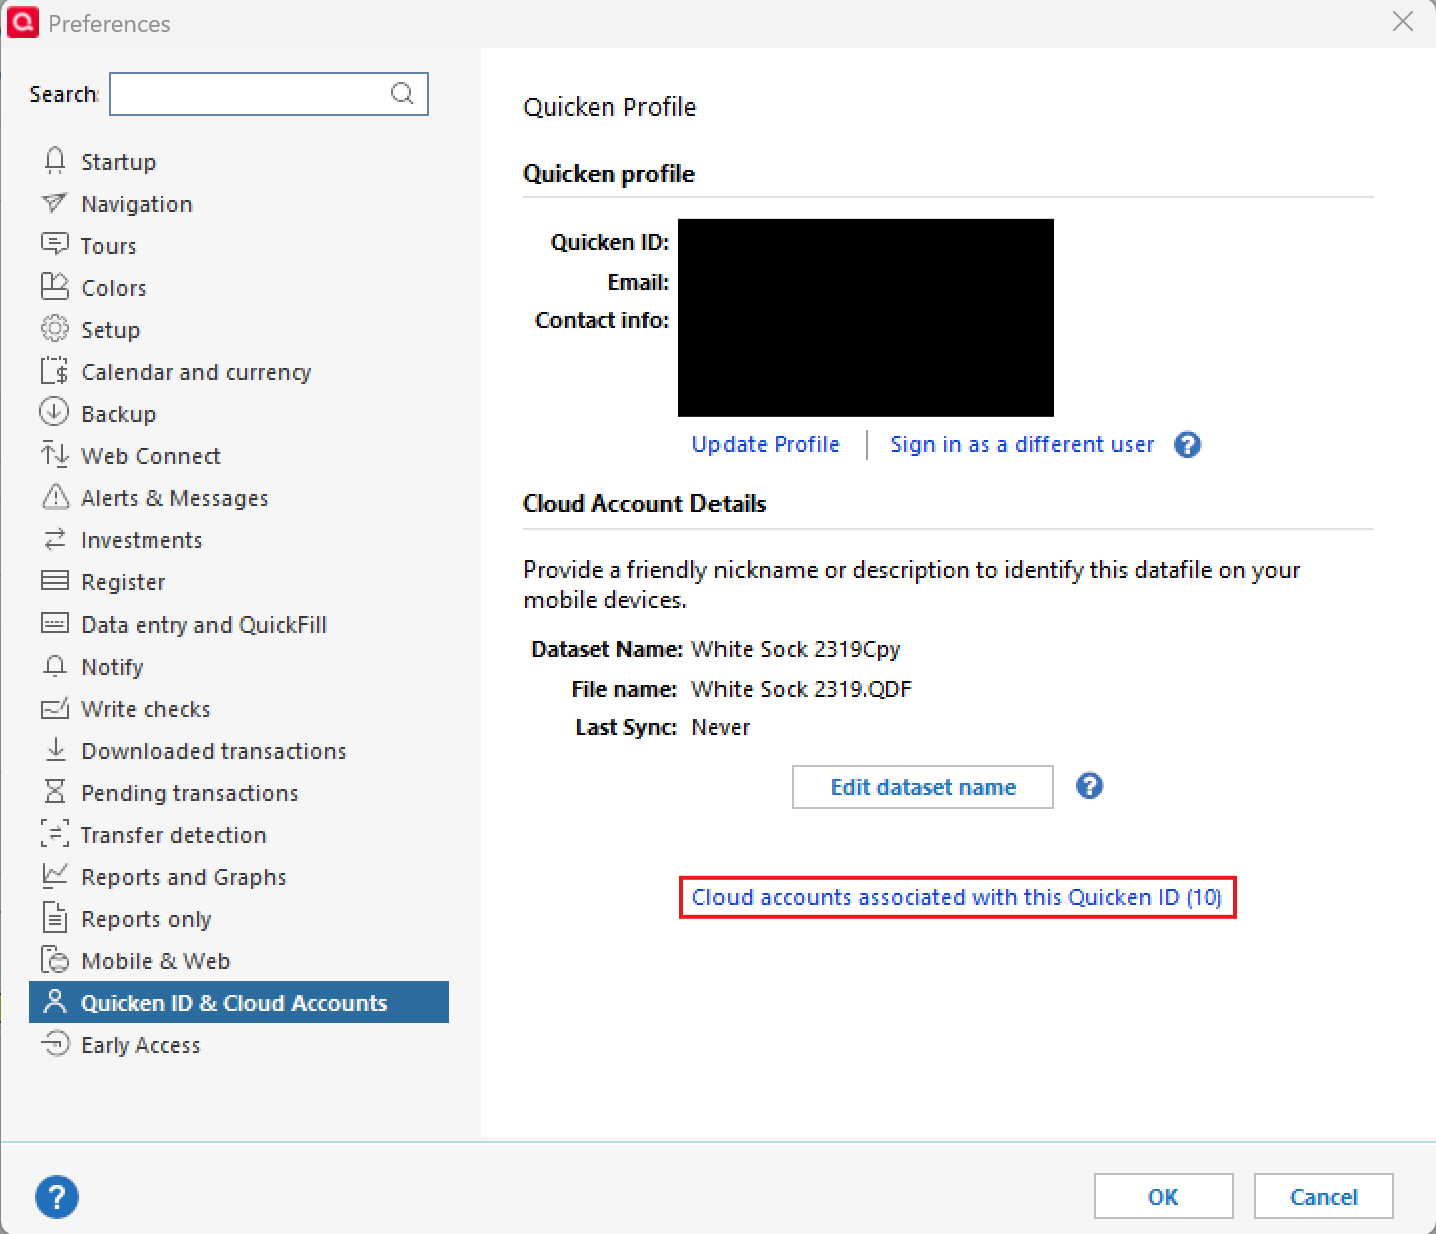
To start with, I suggest resetting your cloud data from your Quicken desktop program and see if that may make a difference. However, before doing so, first, verify that the Dataset name and the File name match each other identically by navigating to Edit > Preferences > Quicken ID & Cloud Accounts (see below).

If they do not match, please click Edit dataset name and change the Dataset name to match the File name exactly the same (do not copy the file extension: ".QDF").
Then, click OK in the preferences window and proceed to save a backup (just in case). From there, please follow the steps below to reset your cloud data.
- Sign out of your Quicken Mobile app
- On your desktop program go to Edit
- Preferences...
- Mobile & Web
- Make sure Sync shows it's ON and click on Reset your cloud

- On the following screen you can leave the preselected option for "No, just reset my Cloud data", type Yes in the entry field to confirm, and click Reset
- Wait for the sync reset to finish
- Navigate to the Mobile & Web dropdown menu
- Select Cloud Sync to resync your data and to make sure no errors occur
- Wait for it to finish syncing
- Sign back in on your Quicken Mobile app
Once that is done, see if the issue still persists.
Let us know how it goes!
-Quicken Anja
Make sure to sign up for the email digest to see a round up of your top posts.0 -
Made no difference.
0 -
Thanks for following up!
Since, unfortunately, the previous steps have failed so far, next, I suggest you try manually resetting your cloud data by creating a test file and deleting your cloud account from that test file. After that, you would attempt to resync your main data file, which should then create a new cloud account (this does not affect your data saved within that data file).
First, please proceed to save a backup (just in case). From there, create a new data file (click here to view instructions, and review the section titled: "Creating a new file"). Once the new file opens, follow the steps below to remove your main data file's cloud account.- Go to Edit
- Preferences
- Quicken ID & Cloud Accounts
- Click Cloud accounts associated with this Quicken ID (#) (this is not a button, it is written in blue underneath the "Edit dataset name" button)
- Select the Cloud Account Name used for your main data file and click Delete
- Type Yes and click Delete
After that, switch back to your main data file (click here to view instructions, scroll down and review the section titled: "How to alternate between multiple files").
Once your main file opens, resync your data by navigating to the Mobile & Web tab and clicking on the blue Get Started button, and then the blue Sync Now button, and see whether or not the errors you were receiving persist. You can then also delete the new file you previously created, as well as its cloud account.
I hope this helps!-Quicken Anja
Make sure to sign up for the email digest to see a round up of your top posts.0 -
That did the trick. Thank you.
0 -
Thanks for following up! Glad to hear that worked for you.
-Quicken Anja
Make sure to sign up for the email digest to see a round up of your top posts.0